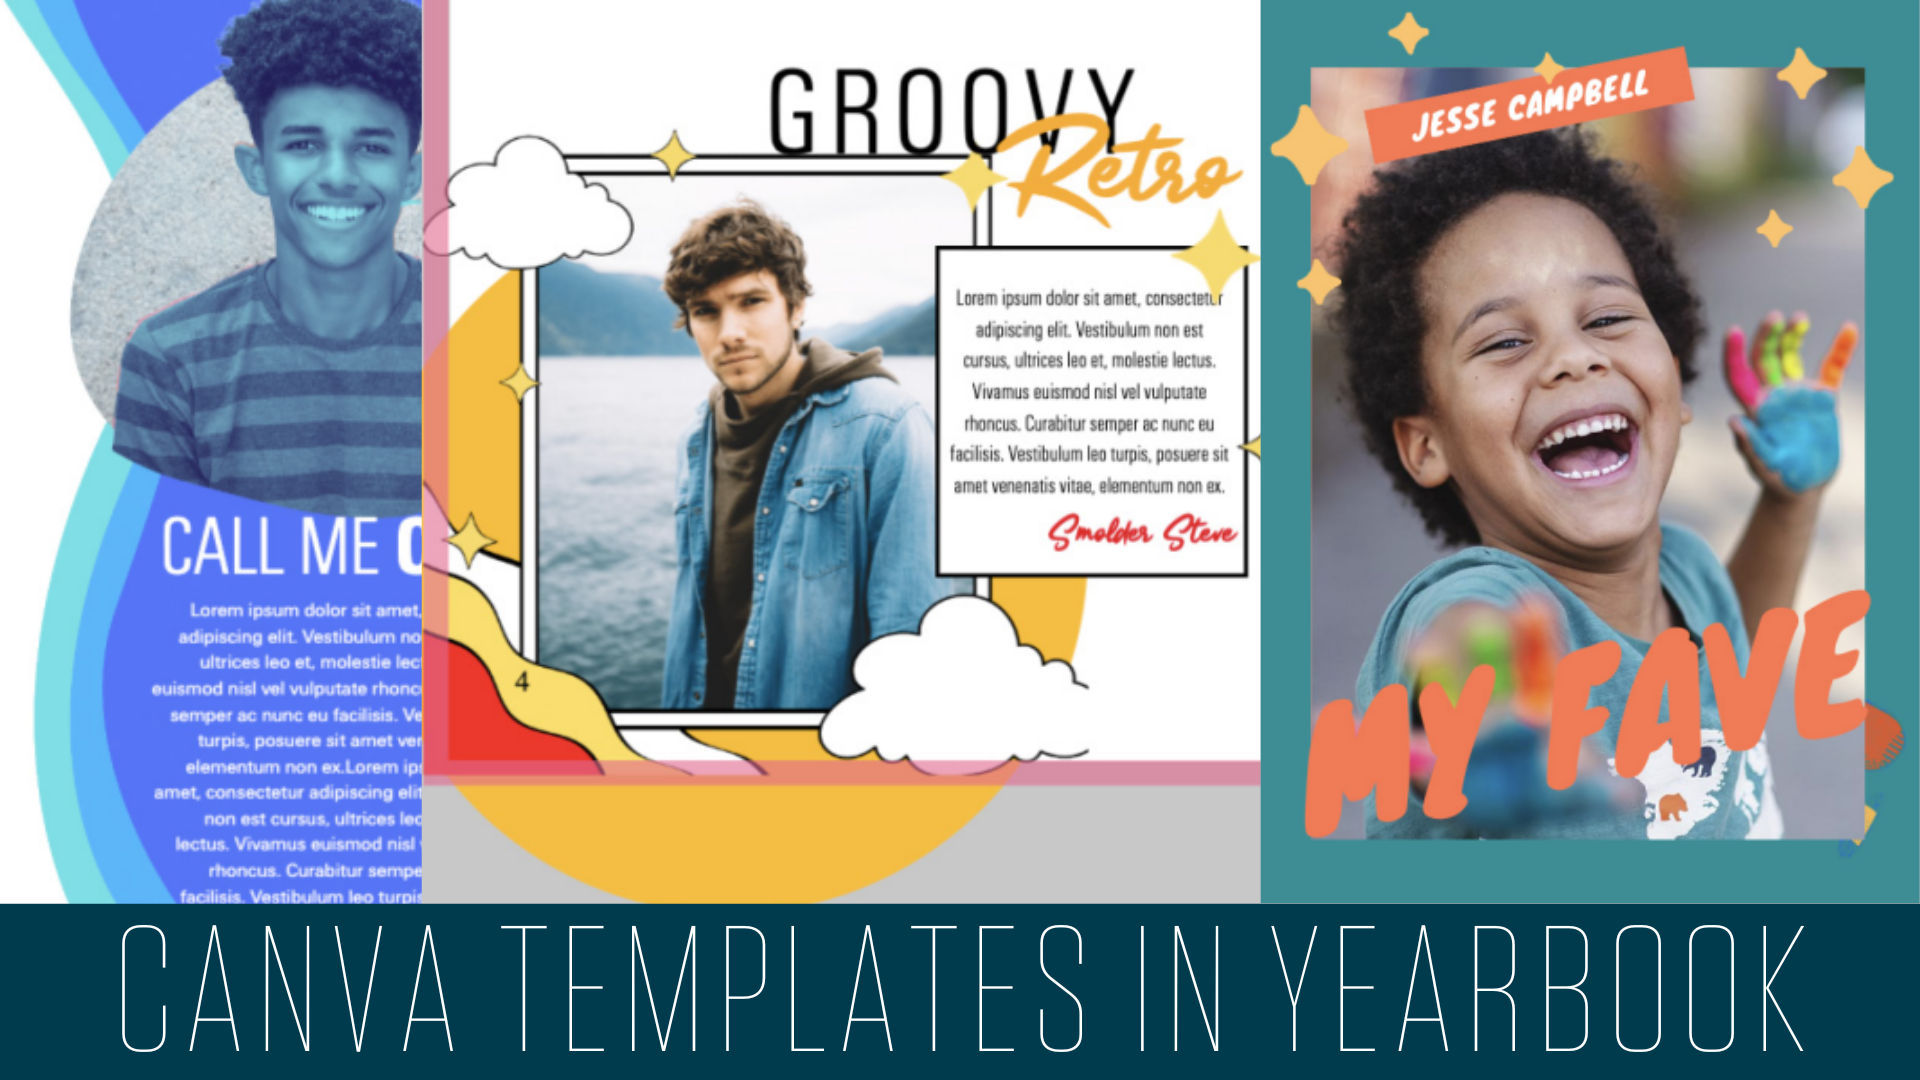
eDESIGN + CANVA: USING CANVA TEMPLATES
It’s no secret that Canva’s templates can make designing SO much easier. But, what happens when a template you love doesn’t fit your book’s color scheme or font package? What do you do when you like the graphical elements of a Canva template, but not the positioning of them? It is important to remember that the provided templates are not set in stone. There really are no guardrails when it comes to the customization you can do within a template. What exactly can you do with a customizable template from Canva? The limit does not exist! You can change fonts, colors and placement of anything on the page. You can create additional text boxes, add more graphic elements and drag and drop your own photos. Think of them as inspiration, not definition.
Here is a step-by-step guide on what you can do to make a template your own. Be sure to check out the video tutorial by yearbook rep, Katy Hoffstatter, to see these applications in action.
THE STEPS
- Open a new canvas in Canva from eDesign. If you’re working on the page, you can do this from the blue ‘C’ in the control panel. If you’re in the Art Library, go to Import > Create in Canva. Choose the shape of the canvas based on the space you’re looking to fill on your spread.
- Scroll through “Templates” to find a starter design that you’d like to use. Click to add it to your canvas.
- Click “Uploads” and drag/drop an image from your book that you want to use. If you need an image that isn’t available yet, click “Upload Image” and choose your image that way.
- Crop and position your image within the template.
- Click “Position” to send your image Backwards so that parts of the template begin to appear on top of your photo.
- Click the pieces of your template to adjust them. Input your own text, change colors, and delete anything you don’t want.
- Click “Elements” to add additional graphics to your design. Search for “lines” or “stars” or “squiggles” or “glitter” for great generic elements. If you see one you like, click it. Position it and change the size and color as needed. 8. When done, click “Publish” in the upper right to send your file back to your eDesign Art Library. It will come in as one cohesive image that you can place in your book.
Watch the full tutorial below:
View a downloadable PDF of these instructions here.
Want to see eDesign + Canva in action? Click here to sign up for a quick demo and to meet your local rep.
- Adviser Takeover: I didn’t know that I didn’t know. - September 23, 2023
- STAFFER TAKE OVER: eDesign Sticky Notes Make Editing Easy - September 11, 2023
- ADVISER TAKEOVER: How to Involve Your School Community in YBK Sales - September 1, 2023


