
The Power of eDesign’s Student Coverage Report
If you’re currently using eDesign, you have a powerful HJ tool at your fingertips — the Student Coverage Report. When you first sign in to My HJ Yearbook, you may have noticed a pie chart underneath your Overall Book Progress. This is the gateway to sales heaven and better student coverage, my fellow yerds. Just make sure you’ve uploaded a master list of students into eBusiness first.
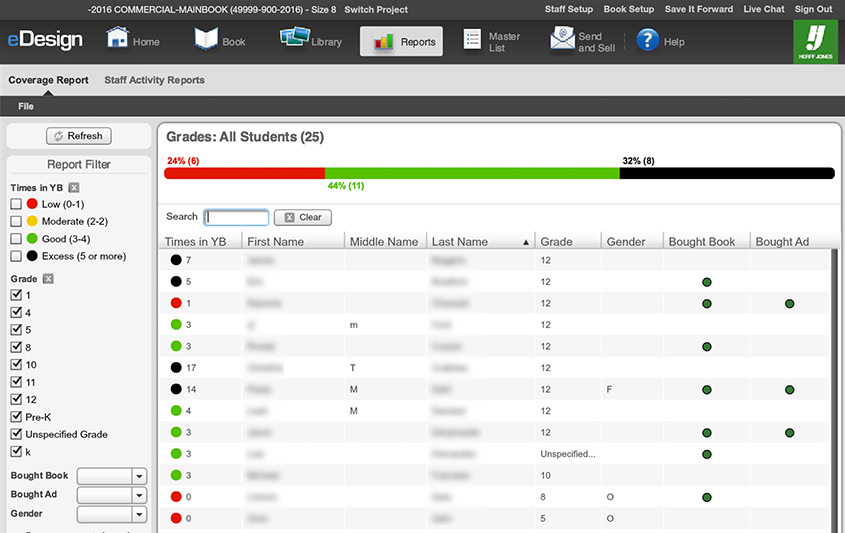
Hovering over the ring or reading the chart next to the ring will show you how many students fall under each coverage category: low, moderate, good or excessive. But wait, there’s more. Clicking on the green See More Detail button will bring you to one of my favorite parts of eDesign, the Coverage Report. My staff and I use this report daily. When we need to find someone for a quick quote, we open up our Coverage Report and pick someone from the red list (low coverage) who has also purchased a book. That way we are ensuring that our students who have already pre-ordered a book are in the book more than one time. In addition, we check the black list for kids who are in the book an excessive number of times. Their names get put on a “dead” list that we post in the yearbook room, and we do not use them again if at all humanly possible. And for those kids who appear on the black list but have not yet purchased a book, get after them! Go tell them how many times they’re actually in the book and sell another copy.
Another use for the red list is to help us find the kids that appear zero times in the book. You know, the kids that missed picture day, re-take day, and/or transferred in to school later in the year? We make sure that every person in our school is mentioned or seen in the book at least once, even if it’s only a little quote in a pop-out on page 86.
One way to boost your student coverage numbers is to name tag as many people in your pictures as you can. After writing the caption for a picture, look at the tool bar on the left side of eDesign. Find and click on the little tag icon at the very bottom of the tools, under the zoom percentage. This opens up the pictures for name tagging. Simply double click the box that appears on each picture, uncheck the box next to the gray area at the top that says Only show tags that are used, and then search for a student who appears in the picture (but was not used in the caption) by first or last name. Check the box next to their name and search for the next person. This will allow eDesign to update the number of times a student is used or shown in the book.
As a staff, it’s our job to make sure that we cover as many kids in our school as we can. Using the tools built right into eDesign is one way to make that mission possible.

Greenfield Junior High (AZ)
A proud HJ family member since 2010, Jenni balances the yerd life with her family life.
- The Power of eDesign’s Student Coverage Report - February 28, 2017

