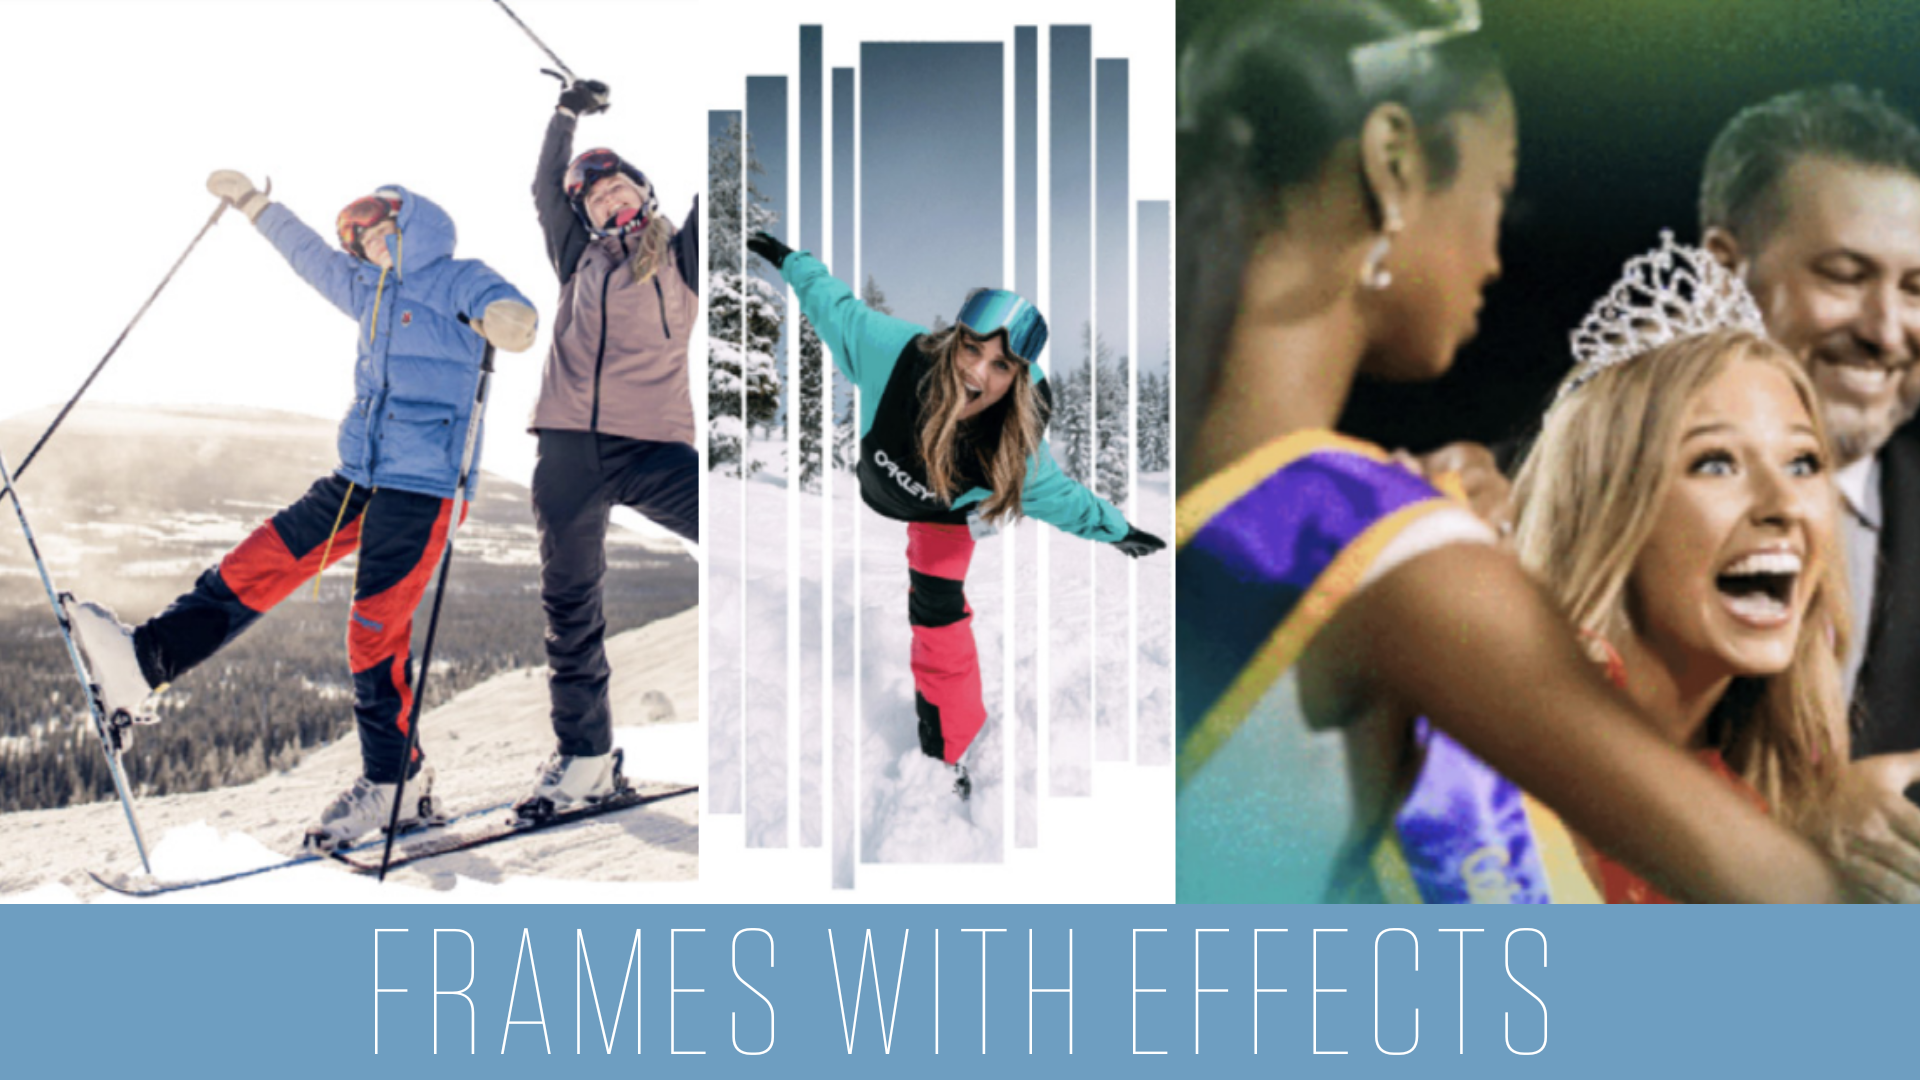
eDESIGN + CANVA: FRAMES WITH EFFECTS
ADD A LITTLE SPICE TO YOUR PHOTOS WITH CANVA FRAME EFFECTS
Looking for a new way to add more visual interest to your yearbook? When you’re adding image after image to your spreads you might start searching for ways to break up the monotony or make a certain page POP! Adding frames to your images is just one more way you can help your book stand out from the rest. With Canva built right into eDesign, creating frame effects on your photos has never been easier. Below is a full tutorial on how you can start using this feature.
THE STEPS
- Open a horizontal canvas in Canva from eDesign. *** Tip: If you’re working on the page, you can do this from the blue ‘C’ in the control panel. If you’re in the Art Library, go to Import > Create in Canva.
- Click on “Elements” in Canva.
- Click on the option for “Frame” at the top of the panel. Any shape with the drawing of the rolling hills and blue sky is a frame you can use.
- Find the frame you’d like to use and click on it so that it appears on your canvas.
- Search for “folded paper frame” to play with those options.
- Search for “gradient frame” to play with those options.
- Click on the “Uploads” section and find the image you want to use. If there isn’t one there, you can click “Upload Image” to bring one in. Click and drag the photo you want to use right into the frame.
- When you’re done, click “Publish” to send this framed image back to your Art Library in eDesign.
View a downloadable PDF of these instructions here.
Watch an in-depth video tutorial by Canva WOW expert, Katy Hoffstatter here:
There’s so much inspo on our Canva WOW page for our HJ customers! For non-HJ customers, if you want to see more eDesign + Canva in action, click here to sign up for a quick demo and to meet your local rep.
- Adviser Takeover: I didn’t know that I didn’t know. - September 23, 2023
- STAFFER TAKE OVER: eDesign Sticky Notes Make Editing Easy - September 11, 2023
- ADVISER TAKEOVER: How to Involve Your School Community in YBK Sales - September 1, 2023


